
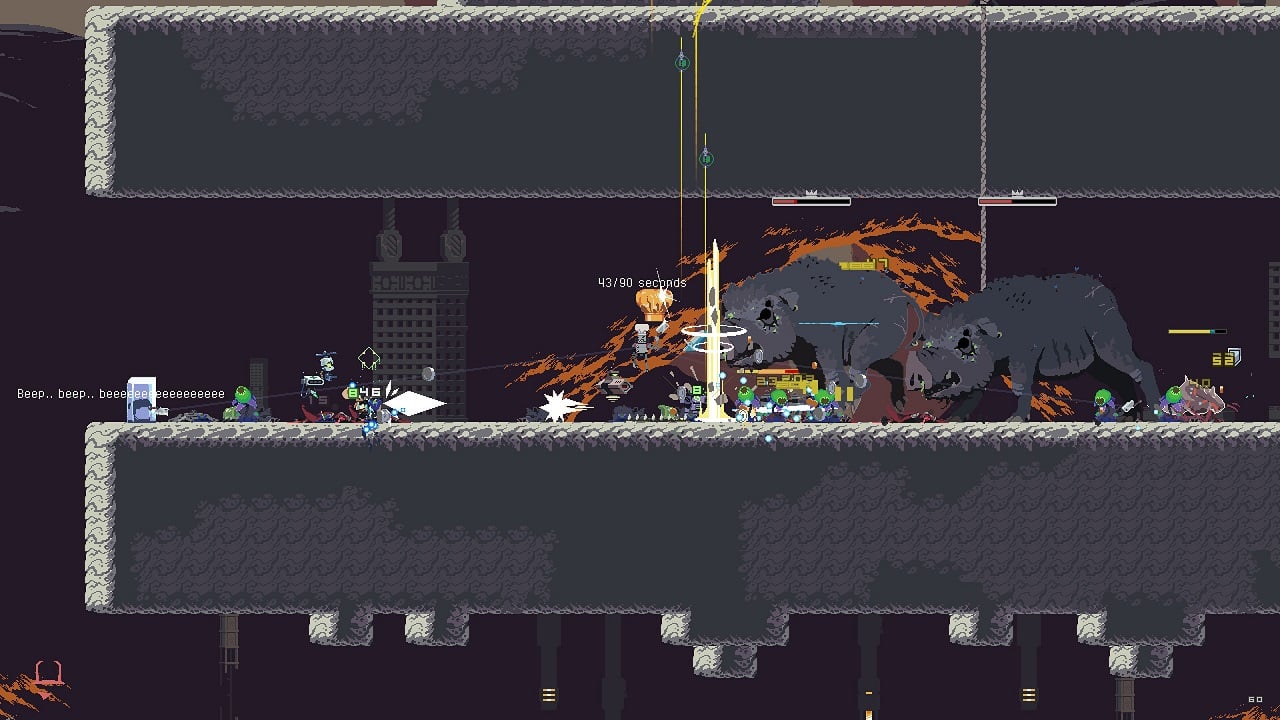
Just like the first iteration, Risk of Rain Returns doesn’t pull any punches when it comes to difficulty, challenging your platforming skills and reflexes with every level.
Despite the challenges that you will face throughout any run, after a while the gameplay of Risk of Rain Returns will start clicking. Instead of dying over and over again, you’ll find yourself advancing further and further through the levels and even making it to the final boss when you land some excellent items. After mastering the game you might find yourself growing bored with it, which is where Artifacts can come into play. These are special items that you will have to unlock, with each of them offering some interesting modifiers to the game.
An easy method of spotting that an Artifact is somewhere near you is coming across a large and unusable teleporter. If you come across one you definitely know that the level you’re on has an Artifact hidden somewhere. Here is a list of what all these Artifacts do and how you can unlock them.
Artifact of Honor – Desolate Forest
This is an artifact that you should only use when you’ve become accustomed to the game, since it will ramp the difficulty by quite a bit. All enemies that spawn will now spawn as Elites, meaning just a few hits from them and you might have to start over. On the other hand, you do get extra coins and XP from these Elites so as long as you can deal with them you’ll also be set to open any chest you come across throughout the levels.
You will have to travel to the left side of the Desolate Forest to get your hands on it until you reach a waterfall. There you will find a rope you can climb until you spot a passage to your left. You will need a jump ability upgrade to make the leap and get your hands on the Artifact.
Artifact of Distortion – Damp Caverns
Another Artifact that will ramp up the difficulty by locking a random skill every minute. This means you won’t have access to that particular skill until it switches, with the upside that all skills have decreased cooldowns. This is a rather fun Artifact that will always keep you guessing, even though not having access to your mobility skill can quickly end a run.
Head to the highest platform on the map, which should be easily spotted by the proximity of the oversized teleporter I mentioned. Head to the right from platform to platform until you reach a gap that requires an upgraded jump ability to pass. Attack the vines that are covering the button in front of you and then interact with it. Then simply jump down and pick up the Artifact.
Artifact of Enigma – Sunked Tomb
This is a pretty fun effect as you will spawn with a randomized Equipment item. The caveat is that whenever you use it, it will change to a different one, and so forth.
Simply walk to the bottom right side of the map and check for some pits that look like they lead to nothing. Head to the rightmost one and jump down and you’ll get your Artifact.
Artifact of Dissonance – Ancient Valley, Sunken Tombs, Magma Barracks, and Hive Cluster
With this artifact active, enemies will no longer be limited to spawning in certain biomes. This can make things more interesting but also more difficult since monsters from the later stages pack a serious punch.
To unlock the Artifact you will have to find four different shards in these following levels:
- Hive Cluster: head to the top row of platforms close to the center of the level. Climb to the top where you can see the shard and then head right until you can drop back down into the level;
- Sunken Tombs: the shard is located on the bottom left corner of the map hidden behind a small puzzle that requires jumping;
- Magma Barracks: head to the highest part of the map and look for a pathway that will lead to the shard;
- Ancient Valley: make your way to the top of the mountain and keep an eye out for a rope that will lead to the shard;
Artifact of Command – Hive Cluster
Definitely one of the best Artifacts in the game since it doesn’t really have a downside. This Artifact simply allows you to choose what item you want to drop from any chest you unlock. This includes all rarities of items as long as they can drop from that type of chest.
Unlocking it is also rather easy, you just have to come across the right Hive Cluster map. You’ll know it when you do if you head to the rightmost part of the map and try to find some invisible vines. If you do start heading to the right and you’ll find the Artifact.
Artifact of Glass – Frozen Tundra
For those of you looking for a way to turn your character into a true glass cannon, this aptly named Artifact is what you’re looking for. This particular Artifact will increase your damage output by 500% while lowering your health to 10%.
To find it, head to the left of the map and climb up until you find a passage. Inside will be five buttons and a simple platforming puzzle. Solve the puzzle and hit all the platforms in order to unlock this Artifact.
Artifact of Sacrifice – Magma Barracks
With this Artifact active, chests will no longer spawn. Instead, enemies will have a chance of dropping items, meaning you should farm early levels as much as possible since later stage enemies are harder to take down.
This Artifact can be found in the Magma Barracks. You will have to hit three switches that are located in the top left of the Magma Barracks before you can access it. Keep in mind that you will also need an ability that allows you to pass through walls in order to pull this off.
Artifact of Kin – Dried Lake
When using this Artifact, only a single type of enemy will spawn on every level. This enemy will be randomly chosen from the level-appropriate mobs. The random nature of this artifact can make certain levels feel like a breeze, while others will seem impossible depending on the chosen enemy.
The Artifact of Kin is located in the leftmost part of the Dried Lake. To get to it, you will have to break a wall and enter a small cave. You will require a jumping ability like the Hoppo Feather to reach the area though.
Artifact of Spite – Sky Meadow
Be careful with this one since it will ramp up the difficulty by quite a bit. While this Artifact is active, all enemies will explode when they die. This makes it almost impossible for melee characters to finish the game with this Artifact. If you want to challenge yourself with this Artifact, try sticking to ranged characters with decent mobility.
Opposed to other Artifacts, Spite is located in the middle of the Sky Meadow. There will be a crack in the floor that can be broken with the help of enemy monsters. After doing so, jump in and head left until you reach the Artifact.
Artifact of Spirit – Temple of the Elders
While at low health, the Artifact of Spirit will increase your movement speed. This is a great Artifact to have since there is no downside to it. It simply gives you a better chance of getting out of a sticky situation.
To get your hands on it, walk to the right side of the Temple of the Elders and jump off. Mid-air, you will have to veer to the left, and you’ll land on a platform. Continue to the left and you’ll find the Artifact of Spirit.
Artifact of Tempus – Temple of the Elders
This Artifact will give you multiple stacks of an item upon picking it up. The caveat is that all items are now temporary and will expire after a set amount of time. This means that time will be of essence in these runs, forcing you to hurry up unless you want to reach the final levels with little or no items.
The Artifact of Tempus isn’t hidden and can be easily found in the Temple of the Elders. But the real challenge is the fact that it will only be found there in the first 16 minutes of the run.